Free Tribute Video Maker: How to Create One in Minutes
You want to put together a video for a funeral, a wake, or an anniversary of a loss, and you don't have hours to learn editing software or money to spend on one. A tribute video maker free tool should let you drag in photos, add a song, and export something you're proud to show family within the same afternoon.
That's exactly what you're looking for, and it's doable without a credit card or a subscription. You need a tool that handles photos, video clips, and music together, keeps things simple enough to finish under pressure, and gives you a result you can share with relatives scattered across different states or countries.
This guide walks you through picking the right free tool and building a memorial video step by step, from organizing your photos to choosing music that fits the person's story. We'll also cover how a finished video pairs naturally with a lasting online tribute page, so the people you love have one place to return to, not just a file that gets buried in someone's downloads folder.
What you'll need before you start
Before you open any editing tool, spend fifteen minutes taking stock of what you actually have. Most people jump straight into an app and then spend the next hour hunting through phones, cloud drives, and old hard drives for the one photo they really wanted. Gathering everything upfront saves you from stopping halfway through a build to dig through a relative's Google Photos account at midnight.
Your photos, videos, and files
Start pulling from every device and platform where memories might be hiding. Think phones, laptops, cloud backups, social media albums, and even physical photos that need a quick scan or photo of a photo. Digital scans of old prints often carry the most emotional weight in a tribute video, so don't skip them just because they're harder to access.
Here's a quick checklist to work through:
- Phone camera roll (yours and close family members')
- Cloud storage: Google Photos, iCloud, Dropbox
- Social media: Facebook albums, Instagram saved posts
- Physical photo albums or frames (scan or photograph these flat, in good light)
- Home videos: old camcorder tapes, phone video clips, voicemails if you have them
- Documents worth referencing: obituary drafts, favorite quotes, handwritten notes
A quiet block of time
Set aside two to three uninterrupted hours, ideally in one sitting rather than spread across a stressful week. Sorting through old memories takes an emotional toll, and rushing it usually shows in the final video, whether that's mismatched pacing or photos dropped in without much thought. If you're building this with siblings or a spouse, block the same window on everyone's calendar so you're not waiting on files that never arrive.
Give yourself permission to take breaks; a tribute video built calmly always looks better than one built in a panic.
Music you're allowed to use
Pick one or two songs that fit the tone you want, whether that's a hymn, a favorite artist, or something instrumental and quiet. Stick to royalty-free or personally owned music if you plan to share the video publicly online, since platforms like YouTube and Facebook can mute or take down videos that use copyrighted tracks without a license. If the person had a song that meant something to them, that usually beats anything else you could pick, but double-check you have a legal way to use it before you build the whole video around it.
The right software, not more software
Resist the urge to download three different apps before you settle on one. Free tribute video makers vary a lot in what they offer, and switching tools halfway through means re-importing every photo and losing your layout. A single, reliable tool that handles photos, clips, transitions, and music together is worth more than a pile of half-finished projects across different platforms.
Once you have your files organized, your time blocked off, and your music chosen, you're ready to actually build something. The next step is turning that folder of memories into a story with a clear beginning, middle, and end, not just a slideshow of random dates.
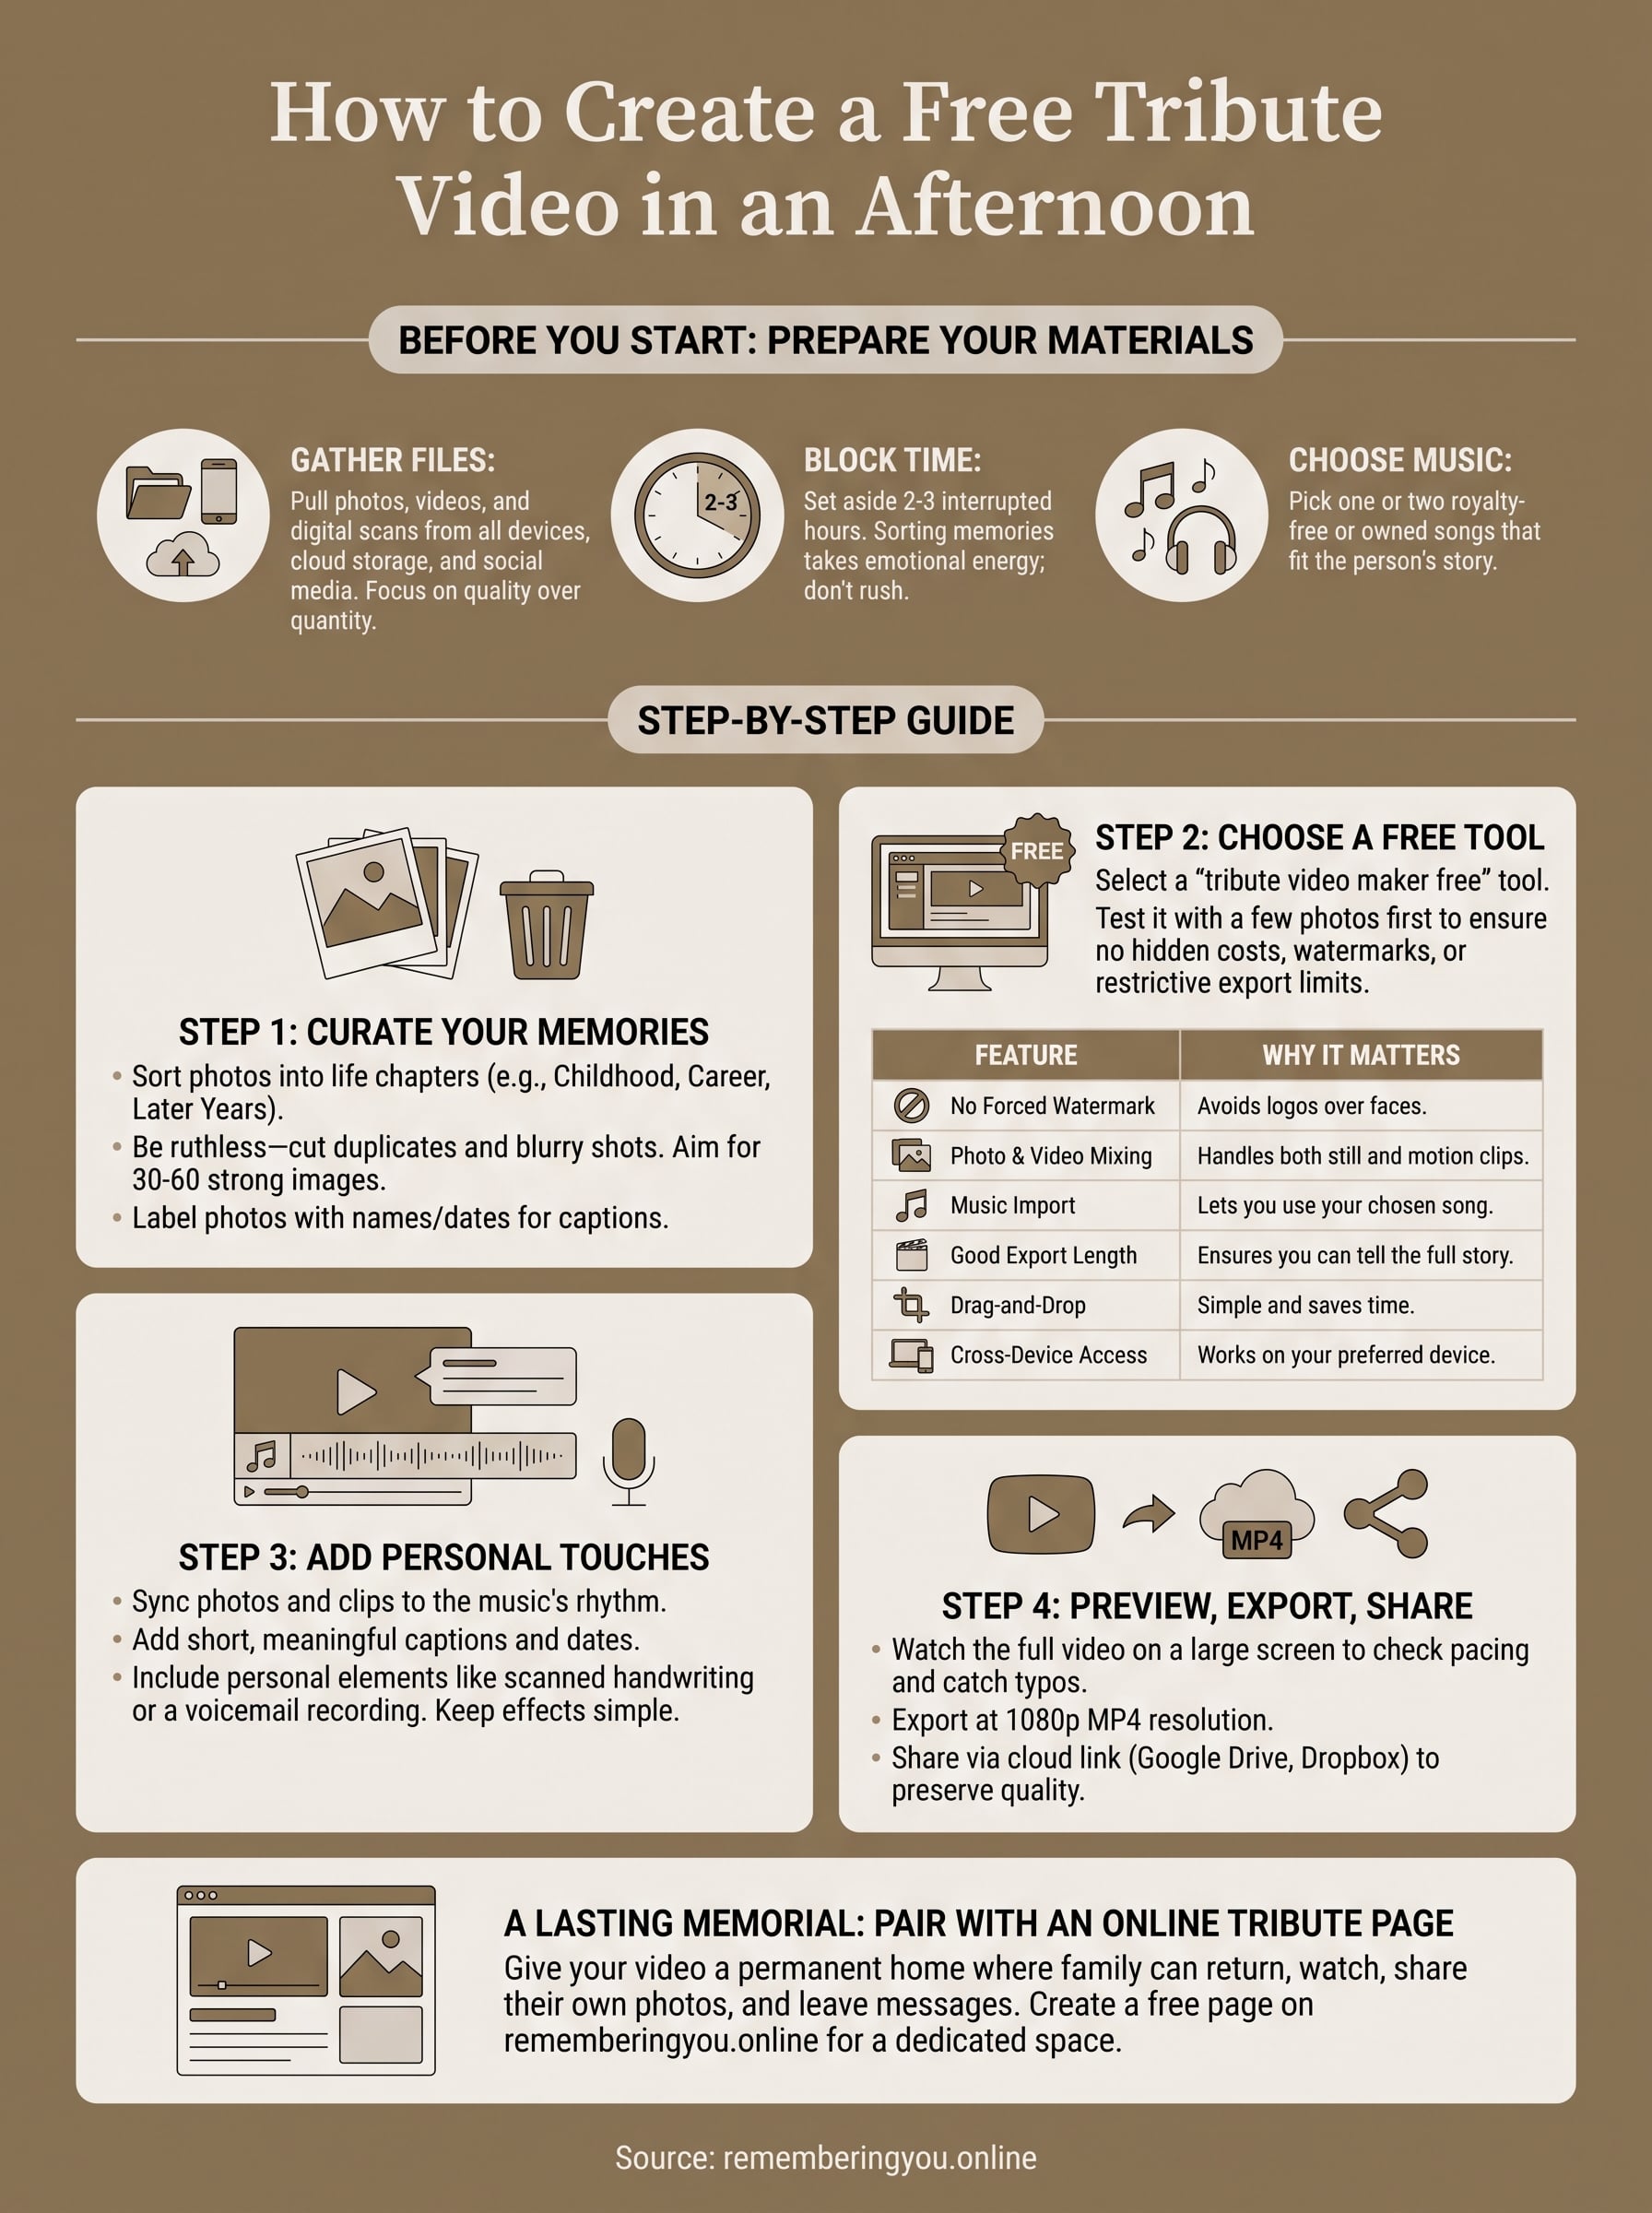
Step 1. Gather your photos, videos, and memories
With your files pulled together, the real work starts: turning a folder of scattered photos into something that plays like a story. Curating your best material means choosing quality over quantity, since a video packed with fifty near-identical shots loses viewers fast, while thirty well-chosen images with a clear arc keeps everyone watching until the end.
Sort by chapters of their life
Group your photos and clips into rough life stages instead of dumping them in by date alone. Childhood, school years, career, marriage, grandkids, retirement, whatever fits the person you're honoring. This structure gives your memorial video a natural rhythm and makes it easier for a free video maker for memorial tool to auto-arrange clips later if you use that feature.
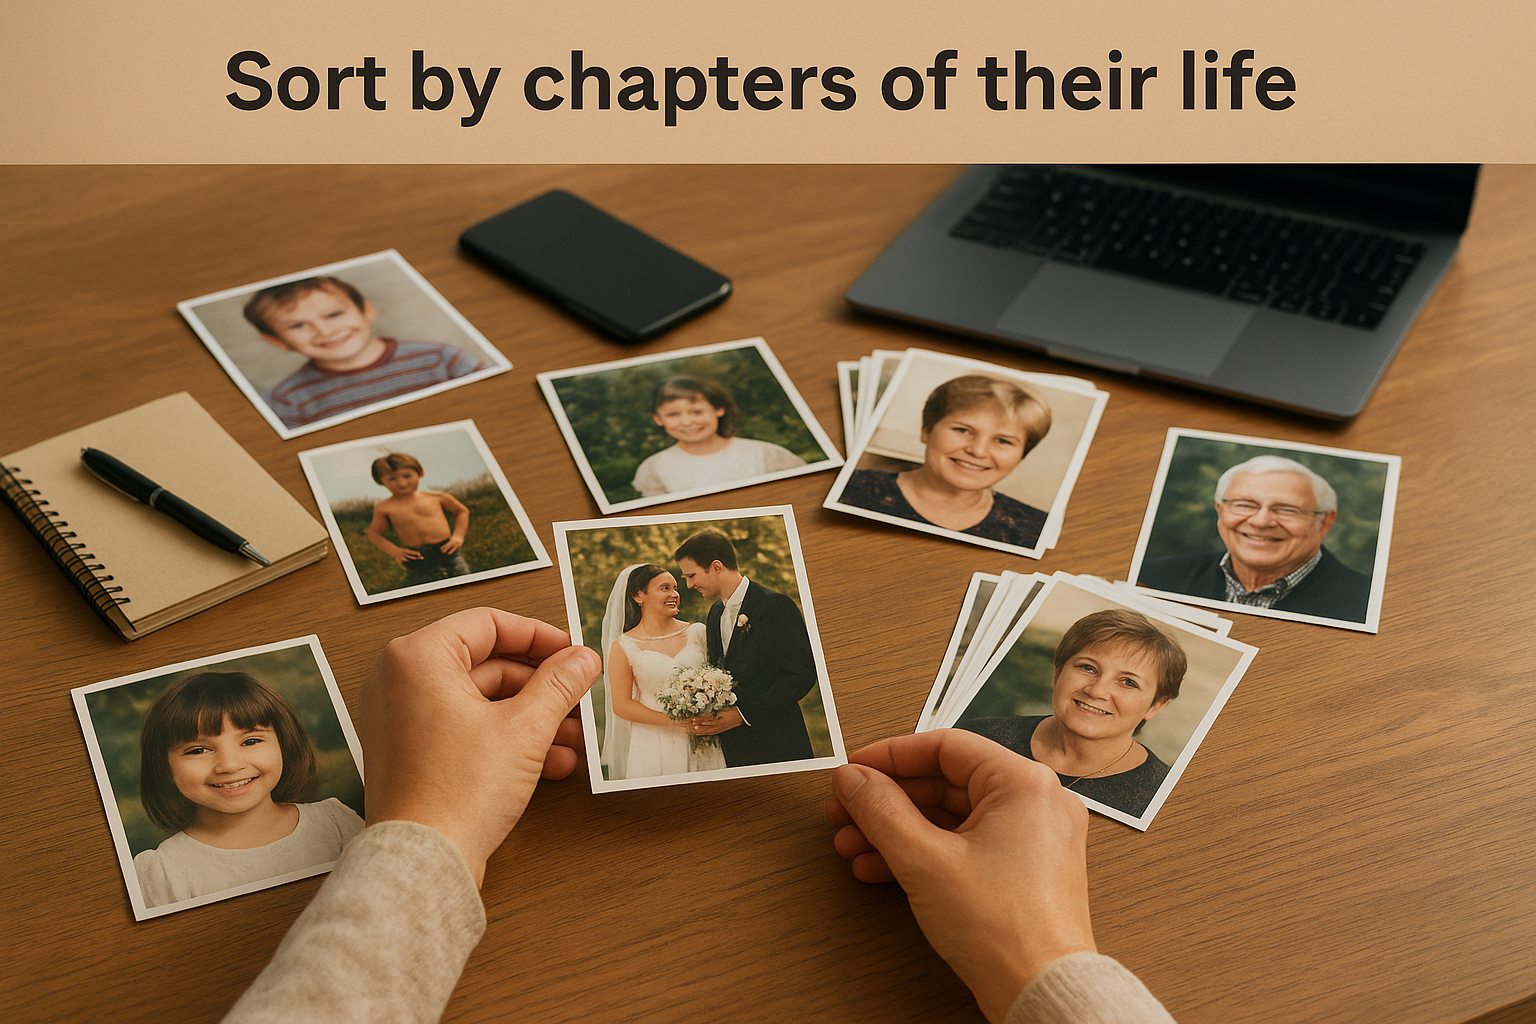
- Early years and childhood
- School, first jobs, young adulthood
- Marriage, family milestones
- Career highlights or passions
- Later years, grandchildren, retirement
- Final photos that capture their spirit, not their illness
Cut the duplicates and the blurry shots
Be ruthless here. Nobody needs to see six versions of the same birthday cake photo. Pick the sharpest, best-lit image from each moment and let the rest go. Trimming your selection down to your strongest thirty to sixty images keeps the pacing tight, especially if you're building something for a service where attention spans are already stretched thin.
A tribute video that tells one clear story beats one that tries to show every single photo you own.
Note who's in each photo
Jot a quick label next to photos where you'll want a caption, like a name, a place, or a year. You'll move faster in the editing stage if you're not stopping to ask a cousin who that is in the 1987 photo. This small step also helps if a family member is helping remotely, since you can hand off a labeled folder instead of a pile of unnamed files.
Once your photos and clips are sorted into a rough order with the weak shots cut, you're ready to pick the actual software that will bring it all together.
Step 2. Choose a free tribute video maker
Now you pick the tool that turns your sorted folder into a finished video. Dozens of apps market themselves as a tribute video maker free option, but most cap your export length, slap a watermark across every frame, or lock music and transitions behind a paywall the moment you try to save. Test a tool with five photos before you commit your whole project to it, so you find these limits early instead of after two hours of work.
What to look for in a free tool
Compare any option against a short list of must-haves before you invest real time. A free video maker for memorial projects should let you finish without hitting a paywall halfway through.
| Feature | Why it matters |
|---|---|
| No forced watermark | Nobody wants a logo stamped over grandma's face |
| Photo and video mixing | You'll likely have both, not just stills |
| Music import | Lets you use the song that actually fits |
| Export length limit | Some free tiers cap you at 60-90 seconds |
| Simple drag-and-drop timeline | Saves hours if you're not a video editor |
| Works on your device | Mobile-only tools frustrate desktop users, and vice versa |
Watch out for hidden costs
Read the fine print before you build anything. Plenty of "free" apps only let you export a finished video once you pay, which means your hours of work sit trapped behind a paywall right when you need the file.
A free tool that hides the export button behind a payment screen isn't actually free, it's a trap.
Check reviews on the app store or a quick search for "[tool name] watermark" before you sink an evening into it. Sites like Google's own Play Store policies require apps to disclose in-app purchases clearly, so that disclosure is usually visible if you look for it.
Test drive before committing
Open the app, import three or four photos, and try adding a music track and a transition. Settle on one tool only after this quick test confirms it exports cleanly without a paywall or a watermark ruining your final file. If it stalls, crashes, or buries the export behind an upgrade screen, close it and try the next option before you've invested real time into a dead end.
Step 3. Add music, text, and personal touches
With your timeline built, it's time to layer in the details that turn a slideshow into something that actually moves people. Music and text choices carry as much emotional weight as the photos themselves, so don't treat this step as an afterthought you rush through at the end.
Sync music to the pacing
Drop your chosen track onto the timeline first, then adjust your photo and clip durations so transitions land on beats or quiet moments in the song. Most free tribute video maker tools let you drag a photo's edge to lengthen or shorten how long it displays, so nudge things until a swell in the music lines up with a meaningful photo instead of a random one. If your song runs longer than your video, fade it out gently rather than cutting it off mid-phrase.
Add captions and dates
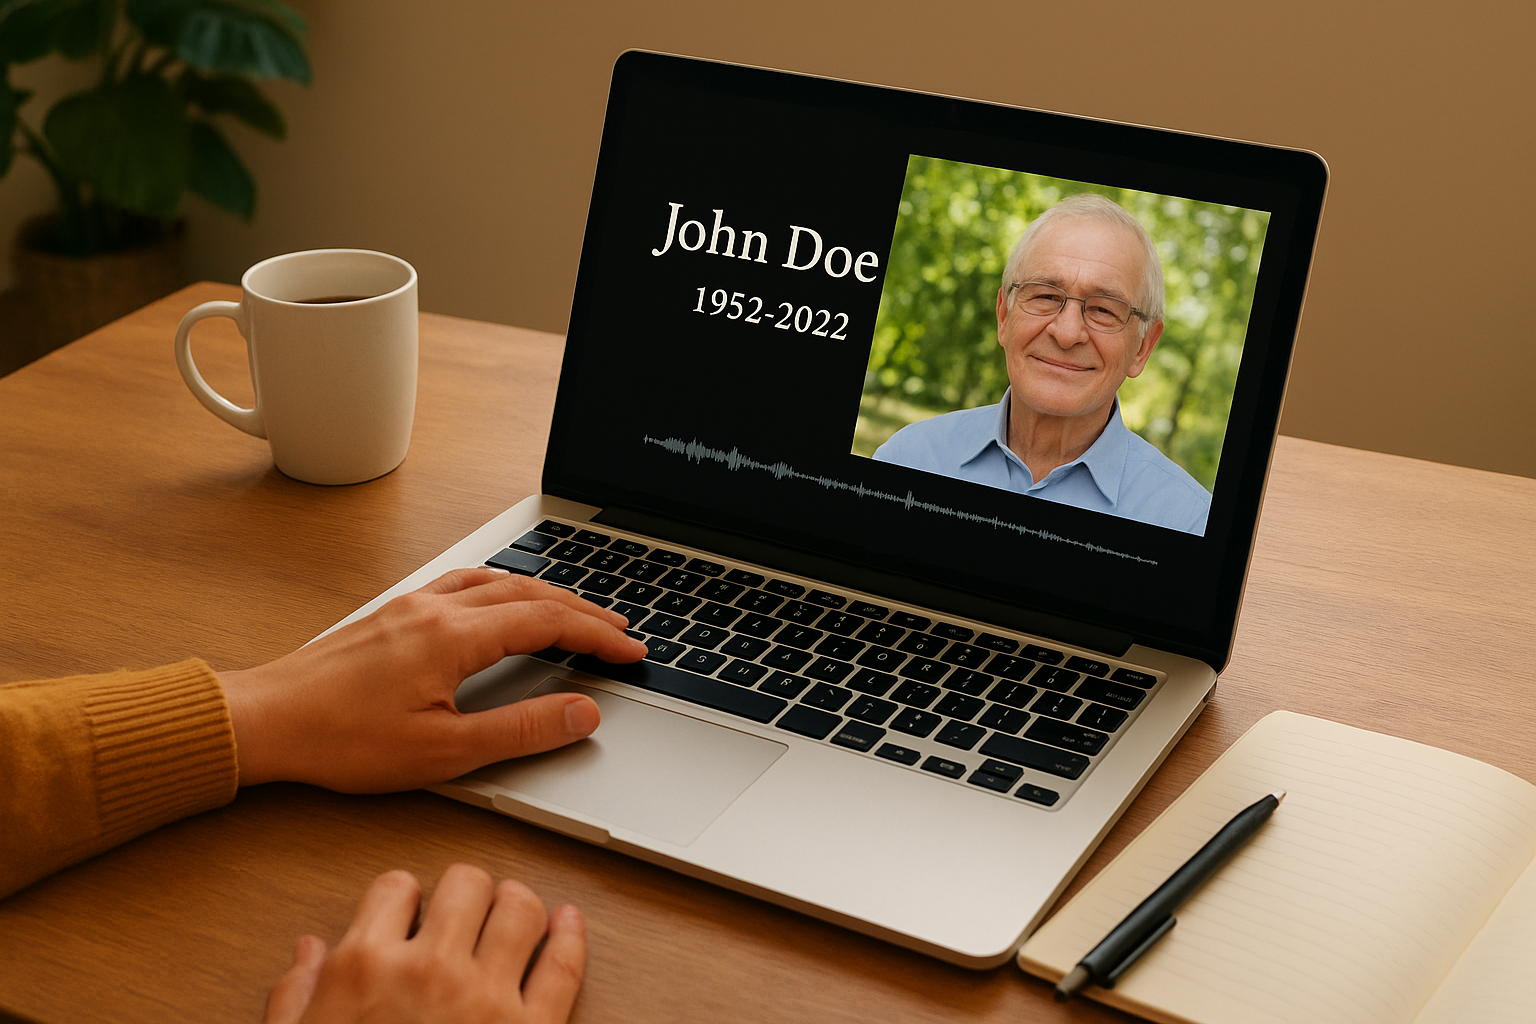
Use the labels you jotted down earlier to add short text overlays: a name, a year, a place, or a line from something they used to say. Keep captions brief, five to eight words works better than a full sentence, since viewers are watching photos, not reading paragraphs. A simple opening title card with their name and the years of their life, plus a closing card with a favorite quote or Bible verse, bookends the whole piece nicely.
- Opening card: name and dates
- Mid-video captions: names, places, milestones
- Closing card: a quote, verse, or simple "forever in our hearts"
Personal touches that make it feel like them
Small details separate a generic slideshow from something that actually sounds like the person you're honoring. Personal touches like a recorded voicemail, a handwriting sample scanned as an image, or a slow zoom on their favorite chair say more than another posed photo ever could.
The details nobody else would think to include are exactly what make a tribute video feel personal instead of generic.
Avoid overloading the video with effects just because your software offers them. A gentle fade between photos and one consistent transition style reads as intentional; five different wipe effects in a row reads as a first attempt at learning the software. Once your music, captions, and personal touches are in place, you're ready to check the whole thing over before sharing it with family.
Step 4. Preview, export, and share your tribute video
Watch your finished draft from start to finish before you touch the export button, ideally on the same screen size your family will actually use. Full playback review catches problems a quick scroll never will, like a caption that flashes too fast to read or a transition that lands awkwardly on a somber photo. Play it once with sound, then once more with the volume off to check that captions alone still tell the story, since some relatives will watch on a muted phone in a waiting room or during a service livestream.
Check pacing and typos one more time
Read every caption out loud. Typos slip through more easily in emotional projects because you're focused on the photos, not the spelling. Confirm dates match what's on the obituary or program, and make sure names are spelled the way the family actually spells them, not the way autocorrect prefers.
Export at the right settings
Most free tribute video maker tools default to a resolution that's fine for a phone screen but looks soft on a projector at a service. Bump the export up if the option exists.
| Setting | Recommended choice |
|---|---|
| Resolution | 1080p minimum, 4K if your tool allows it |
| Format | MP4, works almost everywhere |
| Frame rate | 24-30 fps is plenty for a slideshow-style video |
| File size | Check the venue's upload limit if you're sending it to a funeral home |
A tribute video only matters once it plays correctly on the screen where family is actually watching it.
Share it without losing quality
Send the raw file through a cloud link rather than a group text, since text messages compress video hard and can strip the music entirely. Google Drive, Dropbox, or a private YouTube upload all preserve quality far better than a messaging app.
Once it's exported, think about where it lives long-term. A video buried in a shared drive gets harder to find every year, which is exactly the gap a permanent online tribute page with the video embedded, a QR code, and a guestbook is built to fill.
A tribute that keeps their memory close
Building a tribute video maker free project isn't complicated once you break it into pieces: gather your files, sort them into a story, pick a tool that won't hold your export hostage, layer in music and captions, then review before you share. Follow those steps and you'll have something worth showing family in an afternoon, not a stalled project sitting half-finished on your laptop.
Given how much work goes into the video itself, don't let it disappear into a downloads folder six months from now. Pair it with a permanent home where relatives can watch it, add their own photos, and leave messages in a guestbook whenever they think of the person you're honoring. Create a free memorial page on Remembering You and give your finished video the lasting place it deserves.