How to Create an Obituary Online for Free
Writing an obituary while you're grieving is hard enough without wrestling with newspaper formatting rules or per-word pricing. If you're searching for an online obituary creator, you probably need something simple, free, and ready to use today, not another subscription or a blank Word document staring back at you.
Here's the direct answer: you don't need to pay a funeral home or newspaper hundreds of dollars to write and publish an obituary. With the right free obituary template online, you can put together a heartfelt, well-organized tribute in under an hour, then share it instantly with family scattered across different cities or countries.
This guide walks you through exactly how to make an obituary online, step by step, from choosing what details to include to structuring the life story so it reads naturally. We'll also show you how a digital memorial page goes further than a traditional obituary, letting you add photos, a life timeline, and a guestbook where loved ones can leave their own memories, all in one lasting place.
What you'll need before you start
Before you touch any online obituary maker, spend fifteen minutes gathering information. Having everything in one place, dates, names, photos, keeps you from stopping mid-sentence to text a cousin for a birth year. Most obituary templates online ask for the same core details, so building this list once saves you from re-opening the tool three times.
The basic facts you'll need
Start with the hard facts: full legal name, any nickname used in daily life, date of birth, date of death, and the city and state where each occurred. Add the person's age at death and, if relevant, their cause of death (many families choose to keep this general, like "after a long illness," rather than clinical). You'll also want their occupation, military service if applicable, and any organizations, churches, or clubs they belonged to. These details anchor the obituary and make it easy for readers to confirm they're reading about the right person, especially if the name is common.
Photos and personal details
Photos turn a list of facts into something people actually want to look at. Pull two or three images: one recent, one from earlier in life, and maybe one candid shot that captures their personality, like the one that got the biggest laugh at the last birthday party. Gather a few personal details too: a favorite saying, a hobby they never gave up, a pet's name, or a place they loved to visit. These small touches are what people remember and quote back to you after the funeral, and they're what separates a generic template from a tribute that sounds like them.
An obituary built from facts alone reads like a form; one built from small, specific details reads like the person you knew.
Family, service, and donation details
Next, list the survivors: spouse or partner, children, grandchildren, siblings, and parents, living or predeceased. Decide how formally you want to name them, full names, or just first names and relationships. Confirm service details early, including date, time, location, and whether it's open to the public or family only. If the family has chosen a charity in lieu of flowers, get the exact name and a link or address for donations, since misspelled charity names are one of the most common corrections families have to request after publishing.
A quick checklist to have ready
Run through this list before you sit down at any create an obituary online tool, so you're not hunting for a missing fact halfway through:
- Full name, nickname, birth date, and death date
- City/state of birth and of death
- Age, occupation, and military or community affiliations
- Two to three photos, ideally one recent and one older
- Three to five personal details, hobbies, sayings, or memorable traits
- Full list of survivors and how they're related
- Service date, time, location, and public/private status
- Charity name and donation link, if applicable
With this list in hand, you're not starting from a blank page, and you won't need to pause mid-draft to track down a forgotten fact. The next step is picking the actual tool or template you'll use to turn all of this into a finished obituary.
Step 1. Choose a free online obituary tool or template
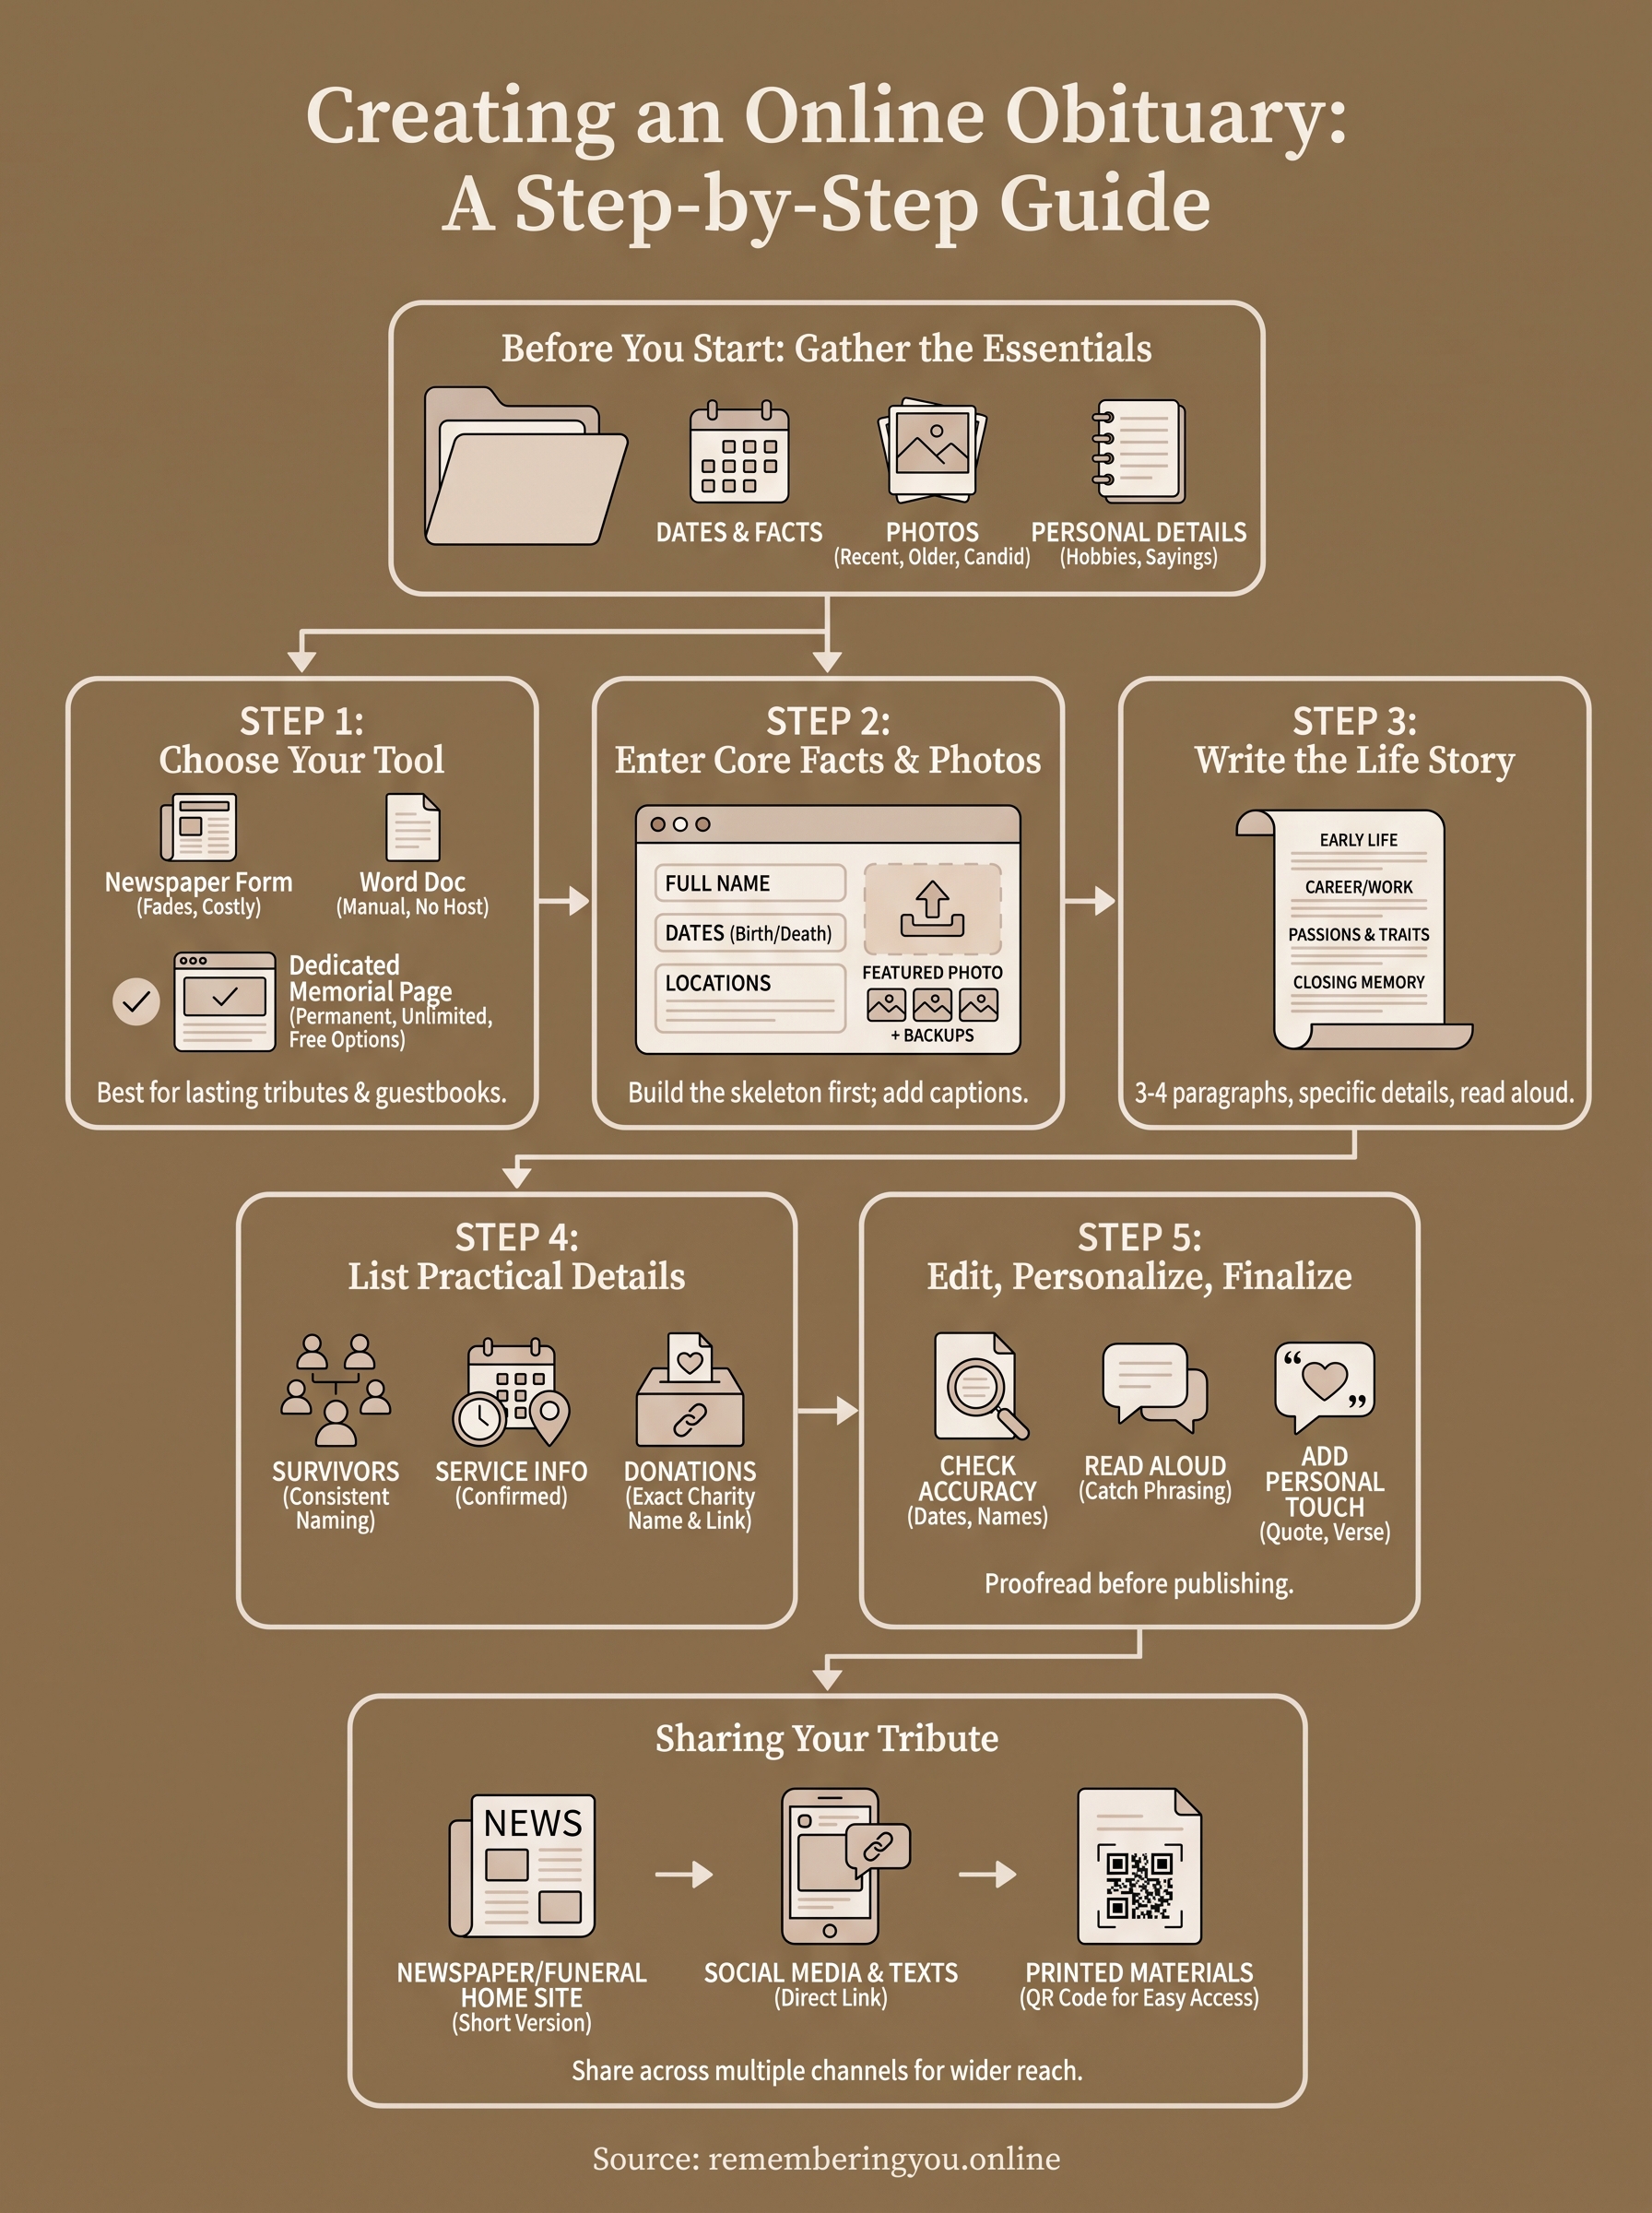
With your facts gathered, the next decision is where you'll actually write and publish. You have three realistic options: a word processor template you print or email, a newspaper's online submission form, or a dedicated online obituary maker built for sharing digitally. Each does something different, so pick based on where you actually want people to read it, not just what pops up first in a search.
Newspaper forms vs. digital memorial pages
Newspaper submission forms are still the default for many families, but they charge by the line or the word, cap photo count at one or two, and delete the listing from their site after a set number of days. A digital memorial page, by contrast, stays online permanently, holds unlimited photos and videos, and costs nothing to set up. If your goal is a quick paragraph for the local paper, use their form. If you want something relatives can revisit for years, a memorial page is the better foundation.
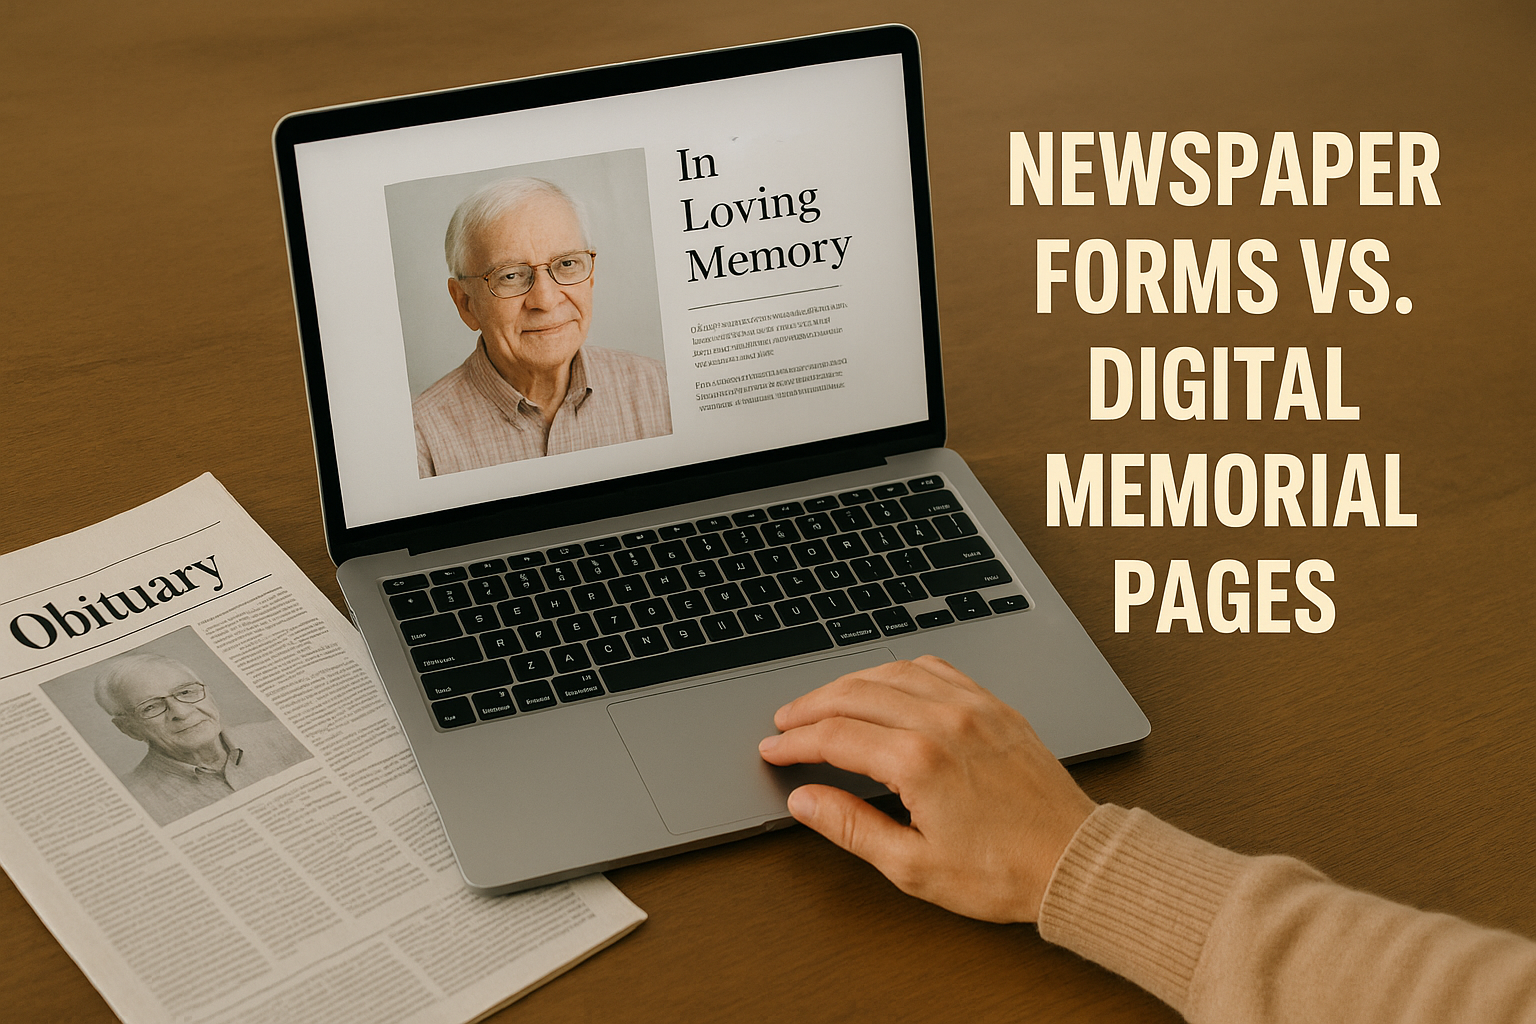
A newspaper obituary disappears after a week; a digital memorial stays live for as long as your family wants to remember.
What to compare before you commit
Run any tool you're considering through this checklist:
- Does it cost anything to create the page, or only to unlock extra features?
- Can you add more than one or two photos?
- Does it include a life timeline or just a single text box?
- Can family members comment or add their own memories?
- Can you set the page to private or password-protected if needed?
- Does it generate a shareable link or QR code for printed materials?
| Option | Cost | Photo limit | Stays online | Guestbook |
|---|---|---|---|---|
| Newspaper form | Per word/line | 1-2 | Days to weeks | No |
| Word processor template | Free | Unlimited (you format) | Only if you host it | No |
| Dedicated memorial page | Free, one-time upgrade optional | Unlimited | Permanent | Yes |
Why a dedicated platform saves you steps later
A platform like Remembering You lets you build the tribute once and reuse it everywhere: print the link on the funeral program, generate a QR code for the headstone, and email the same page to relatives overseas. You skip the newspaper's per-word math entirely, and you're not stuck reformatting a Word document every time someone asks for a printable copy. Once you've picked your tool, the actual writing gets much easier, starting with the facts and photos you already gathered.
Step 2. Gather the key facts and photos
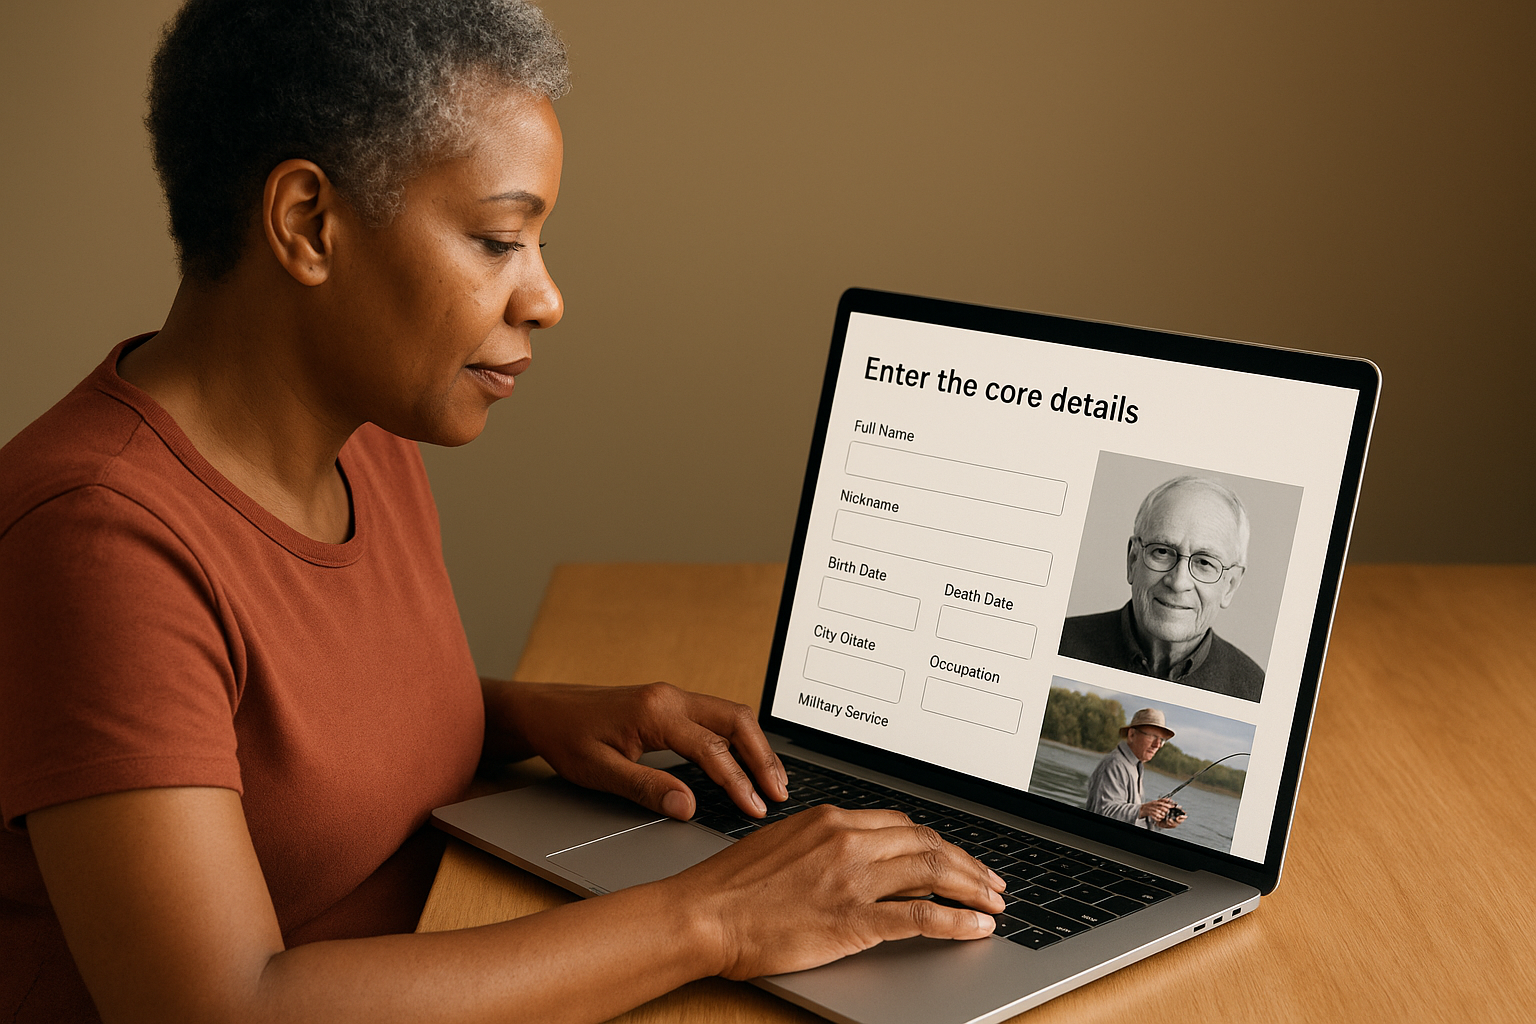
Open your chosen tool and start entering the core facts first, before you write a single sentence of prose. Most online obituary makers organize the page around fields: full name, dates, locations, and a photo upload area. Filling these in first gives you a skeleton to hang the life story on, and it keeps you from realizing halfway through the writing that you never confirmed the exact spelling of a hometown.
Entering the core details
Type the facts exactly as you confirmed them in your checklist: full legal name, nickname, birth and death dates, and city/state for each. Add occupation, military branch and years served if applicable, and any clubs or congregations. Resist the urge to summarize yet; this is data entry, not writing. Save the storytelling for the next step, once every field is filled and accurate.
Get the facts locked in first. A beautifully written obituary with a wrong death date is the one relatives remember for the wrong reasons.
Uploading and arranging photos
Photos are where a free online obituary template starts to feel like an actual tribute instead of a form letter. Upload your two or three chosen images now, even if you plan to add more later. Order matters: most platforms let you set a featured photo that shows first, so pick the one that looks most like the person people remember, not the most flattering studio shot. If the tool supports it, add a short caption under each photo ("Fishing trip, 2019") rather than leaving them unlabeled.
A quick data-entry checklist
Before moving to the writing step, confirm you've entered:
- Full name and nickname, spelled exactly as the family uses them
- Birth and death dates, double-checked against a certificate if possible
- Featured photo plus two backups, uploaded and captioned
- City/state fields filled for both birth and death
- Occupation, military service, and affiliations entered, not just noted on paper
Once every field holds a confirmed fact and every photo is uploaded, you've done the unglamorous work that most people skip when they try to create an obituary online in a rush. What's left is the part families actually remember, the story itself, which is exactly what Step 3 covers.
Step 3. Write the life story
Now comes the part that turns a data sheet into something worth reading. With the facts locked in and photos uploaded, open a blank paragraph field and start with a single sentence: who this person was, in plain terms. "Maria was a mother, a nurse for 38 years, and the first one on the dance floor at every wedding." You're not writing a legal document, so let the sentence sound like someone talking about a person they loved, not filing a report.
Structuring the paragraphs
Break the story into three or four short paragraphs instead of one long block. A simple structure works for almost every online obituary template: early life and family, career or main life's work, personal passions and relationships, and a closing note about how they'll be remembered. This order follows a natural timeline, so readers who never met the person still understand the arc of a life, not just a collection of facts.
A life story doesn't need to be long to be true. It needs to sound like the person, not like a resume.
Using real details, not templates
Pull directly from the personal details list you gathered earlier. Instead of "he enjoyed fishing," write "he never missed opening day of trout season, even the year he had a cast on his arm." Specific stories beat general praise every time, and they're what make people forward the link to relatives instead of skimming past it. If you're stuck, ask one family member to tell you a favorite memory out loud, then write down their exact words. That's usually better than anything you'll invent at a keyboard.
A quick structure to follow
Use this outline as a starting point when you sit down to write:
Paragraph 1: Full name, birth details, family of origin, childhood highlights
Paragraph 2: Education, career, military service, major accomplishments
Paragraph 3: Marriage, children, hobbies, faith, personality traits
Paragraph 4: How they'll be remembered, a closing line or quote they used often
Keep sentences short and avoid stacking too many adjectives in a row. Two hundred to four hundred words is plenty for most life stories, since a digital memorial page lets you add more later through the life timeline feature instead of cramming everything into one paragraph now. Read it out loud when you finish. If it sounds like something you'd actually say at the kitchen table, it's ready. If it sounds stiff, cut the longest sentence in half and try again. Once the story feels honest and complete, move on to naming the people who loved them and the details for saying goodbye in person.
Step 4. List survivors, service details, and donations
With the life story finished, shift back to practical information. Survivors, service details, and donation requests are what readers scan for first, even before the story itself, because these are the facts they need to act on: when to show up, who to send flowers to, where to send a check instead. Treat this section as the part people actually use, not just the part that sounds nice.
Naming survivors accurately
List survivors in a consistent order: spouse or partner first, then children, grandchildren, siblings, and parents, followed by anyone predeceased. Decide once whether you're using full names or just first names and relationships, then stick with that choice for the whole list. Skipping a stepchild or a longtime partner is one of the most common complaints families raise after publishing, so read your survivors list out loud to someone else in the family before you finalize it.
Get the survivors list right the first time. It's the paragraph relatives reread the most, and the one they notice fastest if someone's missing.
Confirming service details
Double-check every service detail against whatever the funeral home or church has confirmed, not your memory of a phone call from two days ago. Include the date, start time, full address, and whether the service is open to the public or limited to family. If there's a separate visitation, wake, or graveside service, list each one on its own line rather than folding them into a single sentence.
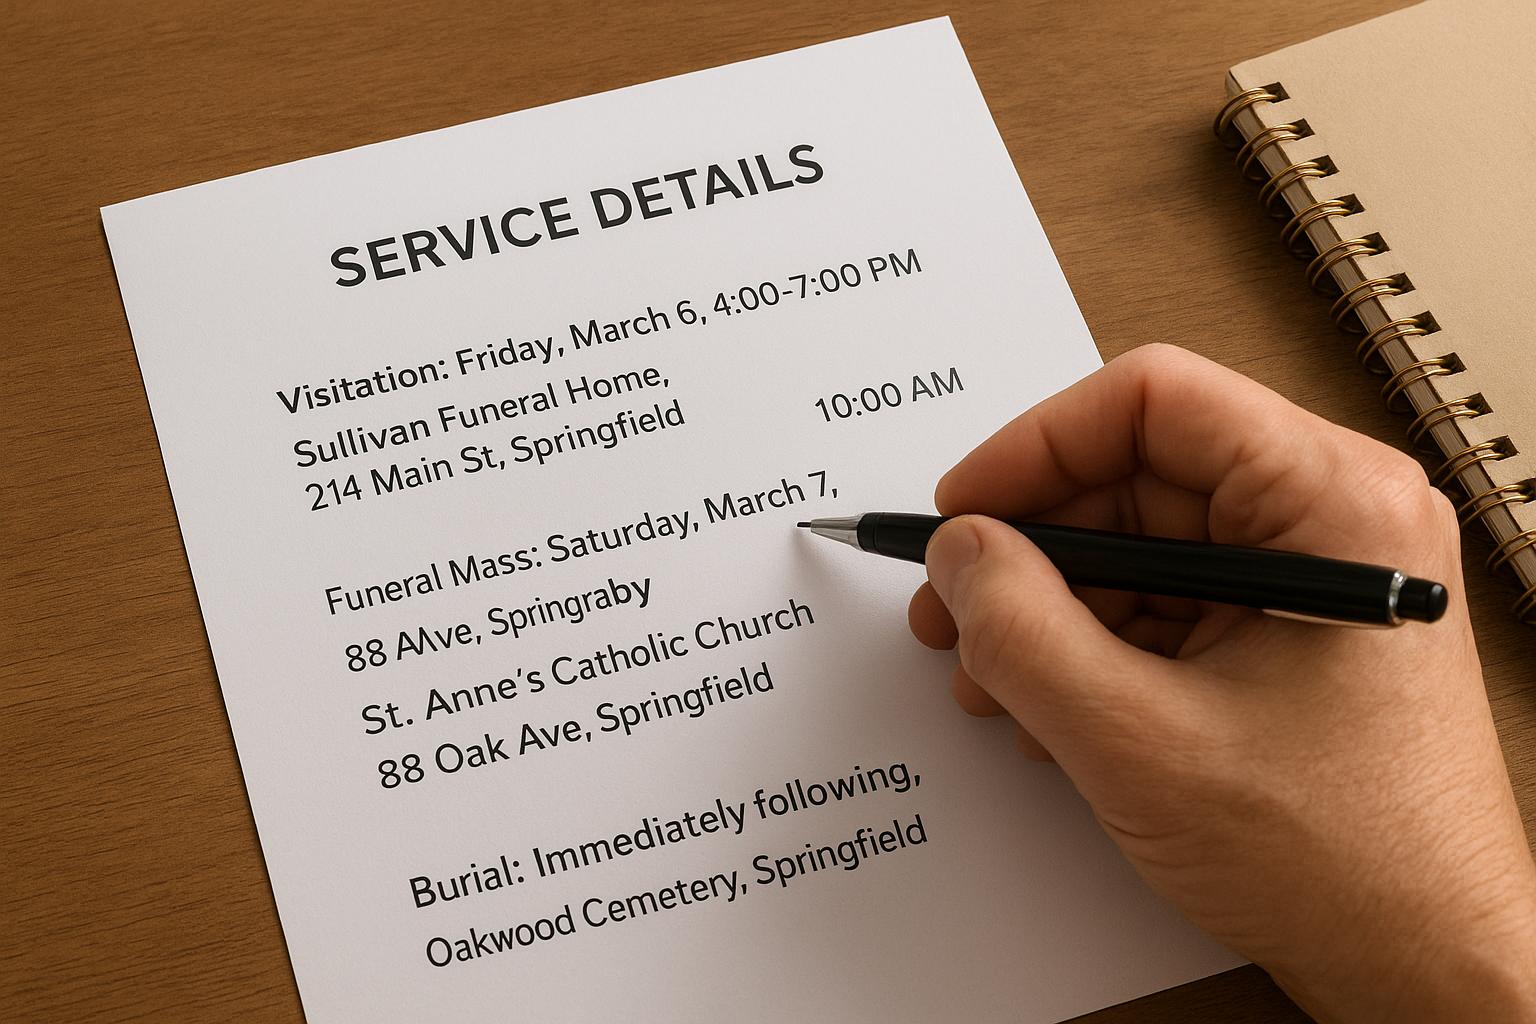
Visitation: Friday, March 6, 4:00-7:00 PM, Sullivan Funeral Home, 214 Main St, Springfield
Funeral Mass: Saturday, March 7, 10:00 AM, St. Anne's Catholic Church, 88 Oak Ave, Springfield
Burial: Immediately following, Oakwood Cemetery, Springfield
Listing donations correctly
If the family has requested donations in lieu of flowers, spell out the charity's exact legal name and include a website or mailing address so people don't have to guess which organization to search for. A free obituary templates online tool usually has a dedicated field for this; use it instead of burying the request inside a paragraph where it's easy to miss.
- Spouse, children, and grandchildren listed by name and relationship
- Siblings and parents noted, including any predeceased
- Service date, time, address, and public/private status confirmed with the venue
- Separate lines for visitation, service, and burial if they're on different days
- Charity name spelled correctly, with a link or mailing address included
Once these facts are locked in, the obituary has everything a reader needs to know and everything they need to act on. Next comes a final pass to catch mistakes and add the personal touches that make it unmistakably theirs.
Step 5. Edit, personalize, and finalize your obituary
Before you publish anything, walk away for at least an hour if you can. Grief writing reads differently after a short break, and you'll catch things on the second pass that you missed while you were still pulling facts together. When you come back to your online obituary maker, read the whole draft start to finish before you fix a single word, so you're editing the piece as a reader would experience it, not just proofreading line by line.
Checking accuracy first
Accuracy comes before style. Recheck every date, every spelled name, and every address against your original checklist, not against memory. A misspelled grandchild's name or a wrong burial address is the kind of error that gets called out in the comments, and it's far easier to catch now than after the page is shared with two hundred relatives.
Fix the facts before you fix the sentences. Nobody notices a clunky sentence, but everyone notices a wrong name.
Reading it out loud
Read the finished obituary out loud, ideally to another family member. Your ear catches awkward phrasing and repeated words that your eyes skip right past. If a sentence makes you stumble twice, rewrite it shorter. If a paragraph feels like it's describing someone else, go back to your personal details list and swap in something more specific.
A final proofreading pass
Run through this list before you hit publish:
- Names spelled correctly, including spouses, children, and grandchildren
- Dates match the certificate or funeral home paperwork exactly
- Service address, date, and time confirmed with the venue directly
- Charity name and donation link tested, not just typed from memory
- Photos display correctly and in the order you intended
- No placeholder text left over from the template ("[insert hobby here]")
- At least one other family member has read the full draft
Adding the personal finishing touches
Once the facts check out, add the last layer of personality. Most obituary maker online tools let you attach a favorite quote, a scripture verse, or a closing line the person used often, something like "see you on the other side" or a line from a song they loved. If your platform supports it, this is also the moment to turn on a life timeline or guestbook, since these features let relatives keep adding memories long after the obituary itself is finished. Save your changes, preview the page exactly as visitors will see it, and only then move on to getting it in front of the people who need to read it.
Where to publish and share your obituary
Once your obituary is finished, publishing it in just one place limits who actually sees it. Different audiences check different sources, so plan on sharing the same finished text across three or four channels instead of picking just one.
Local newspaper and funeral home sites
Submit the same polished draft to your local newspaper's online obituary section and to the funeral home's own website, since both are still where older relatives and neighbors look first. Copy the text directly from your online obituary maker rather than retyping it, so names and dates stay consistent everywhere it appears. Funeral home sites usually publish for free as part of their services, while newspapers still charge per line, so keep that version short and save the full story for your digital page.
Publish the short version where people expect to pay attention briefly, and the full story where they can linger.
Social media and group texts
Share the link to your digital memorial page on Facebook, in the family group text, and in any community or church newsletter the person belonged to. A direct link travels faster than a screenshot, and it lets people click through to see every photo and leave their own memory in the guestbook instead of just reacting to a post. If distant relatives are in different time zones, this is often how they find out first, so send the link as soon as the page is ready rather than waiting for a printed version.
Printed materials and the QR code advantage
Print the same link as a QR code on the funeral program, the memorial card, or even a small plaque near the guest book at the service. Anyone with a phone camera can scan it during the visitation and land straight on the full tribute, no typing a URL from memory later. This is one advantage a free obituary template online rarely offers on its own: a memorial page built for sharing gives you a permanent scannable link you can also add to the headstone itself, so the tribute stays reachable for as long as anyone visits the gravesite.
A quick sharing checklist
- Newspaper obituary section (short version, paid)
- Funeral home website (usually free)
- Family group text and social media, with a direct link
- Church, workplace, or club newsletter, if applicable
- QR code printed on the program, memorial card, or headstone
Spread across these channels, the same obituary reaches people at the visitation, the ones scrolling their phones overseas, and the ones who visit the grave years from now.
The obituary is just the beginning
Writing the obituary was the hard part, and you got through it. What you have now is a finished tribute with accurate facts, a life story that sounds like the person you knew, and a plan for getting it in front of everyone who needs to read it. That's the whole job, at least for the version that runs in the paper or gets handed out at the service.
But a piece of paper can't hold everything. The photos you didn't have room for, the stories other relatives want to add, the way people keep wanting to visit and remember years later, that's what a digital memorial page is built for. It's where the obituary you just wrote becomes the starting point instead of the finish line.
If you haven't built that page yet, create a free memorial page and paste in the obituary you just finished. It takes minutes, and it's ready whenever family needs it.