
How to Create a Funeral Service Program
Planning a funeral in a matter of days is overwhelming, and the funeral program service you hand out at the door often gets pushed to the bottom of the list until someone asks, "what goes on this thing?" You need an order of service that guides mourners through the ceremony, honors the person who died, and gives guests something to keep. Getting it right shouldn't add more stress to an already hard week.
This guide walks you through exactly how to build a program for a funeral service, from the standard order of events to the wording for hymns, readings, and thank-you notes. You'll see what sections funeral homes typically include, how to word a eulogy summary or obituary blurb, and how to lay out photos and dates so the program feels personal instead of generic.
We'll also cover practical formatting tips, free templates you can adapt in an afternoon, and how a service program for funeral guests pairs naturally with a lasting online tribute. Once the service ends, a printed program gets tucked away or lost, but a digital memorial page keeps the same photos and stories accessible to family scattered across the country for years to come.
What a funeral service program includes
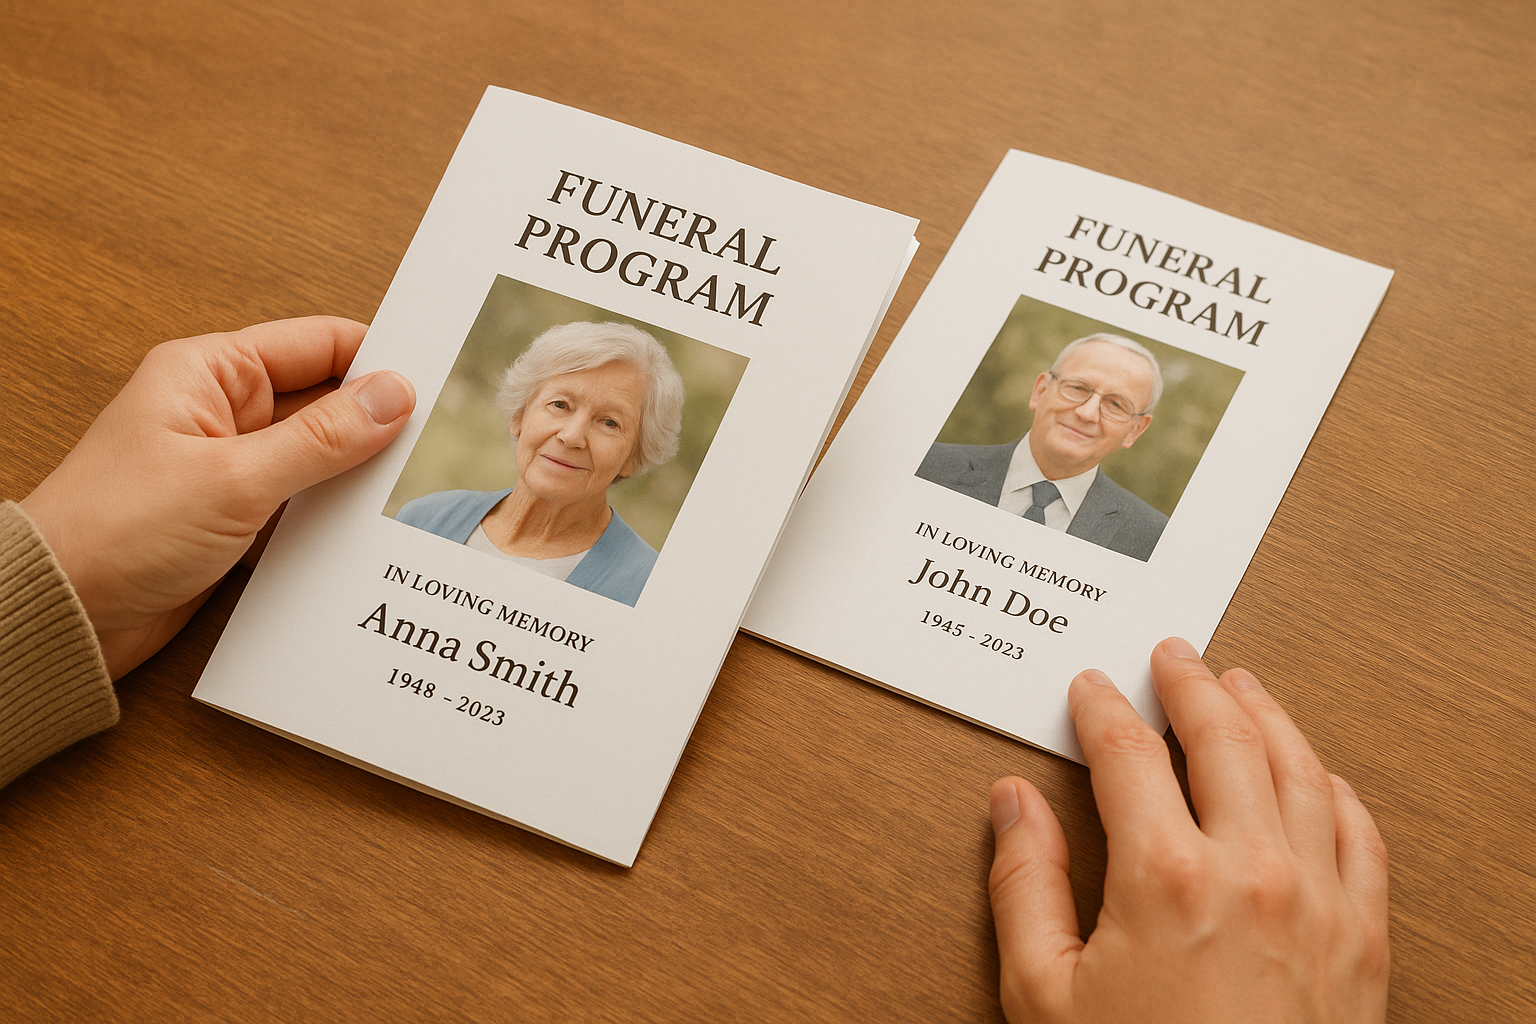
A program for funeral service typically runs four to eight pages, folded like a small booklet, and covers the ceremony from welcome to closing. Every family customizes the order, but funeral homes and clergy work from the same basic skeleton, so you're not inventing a format from scratch. Think of it less as a creative writing project and more as filling in a proven template with the right names, dates, and readings.
A good funeral program tells guests what's happening next while giving them something to keep long after the service ends.
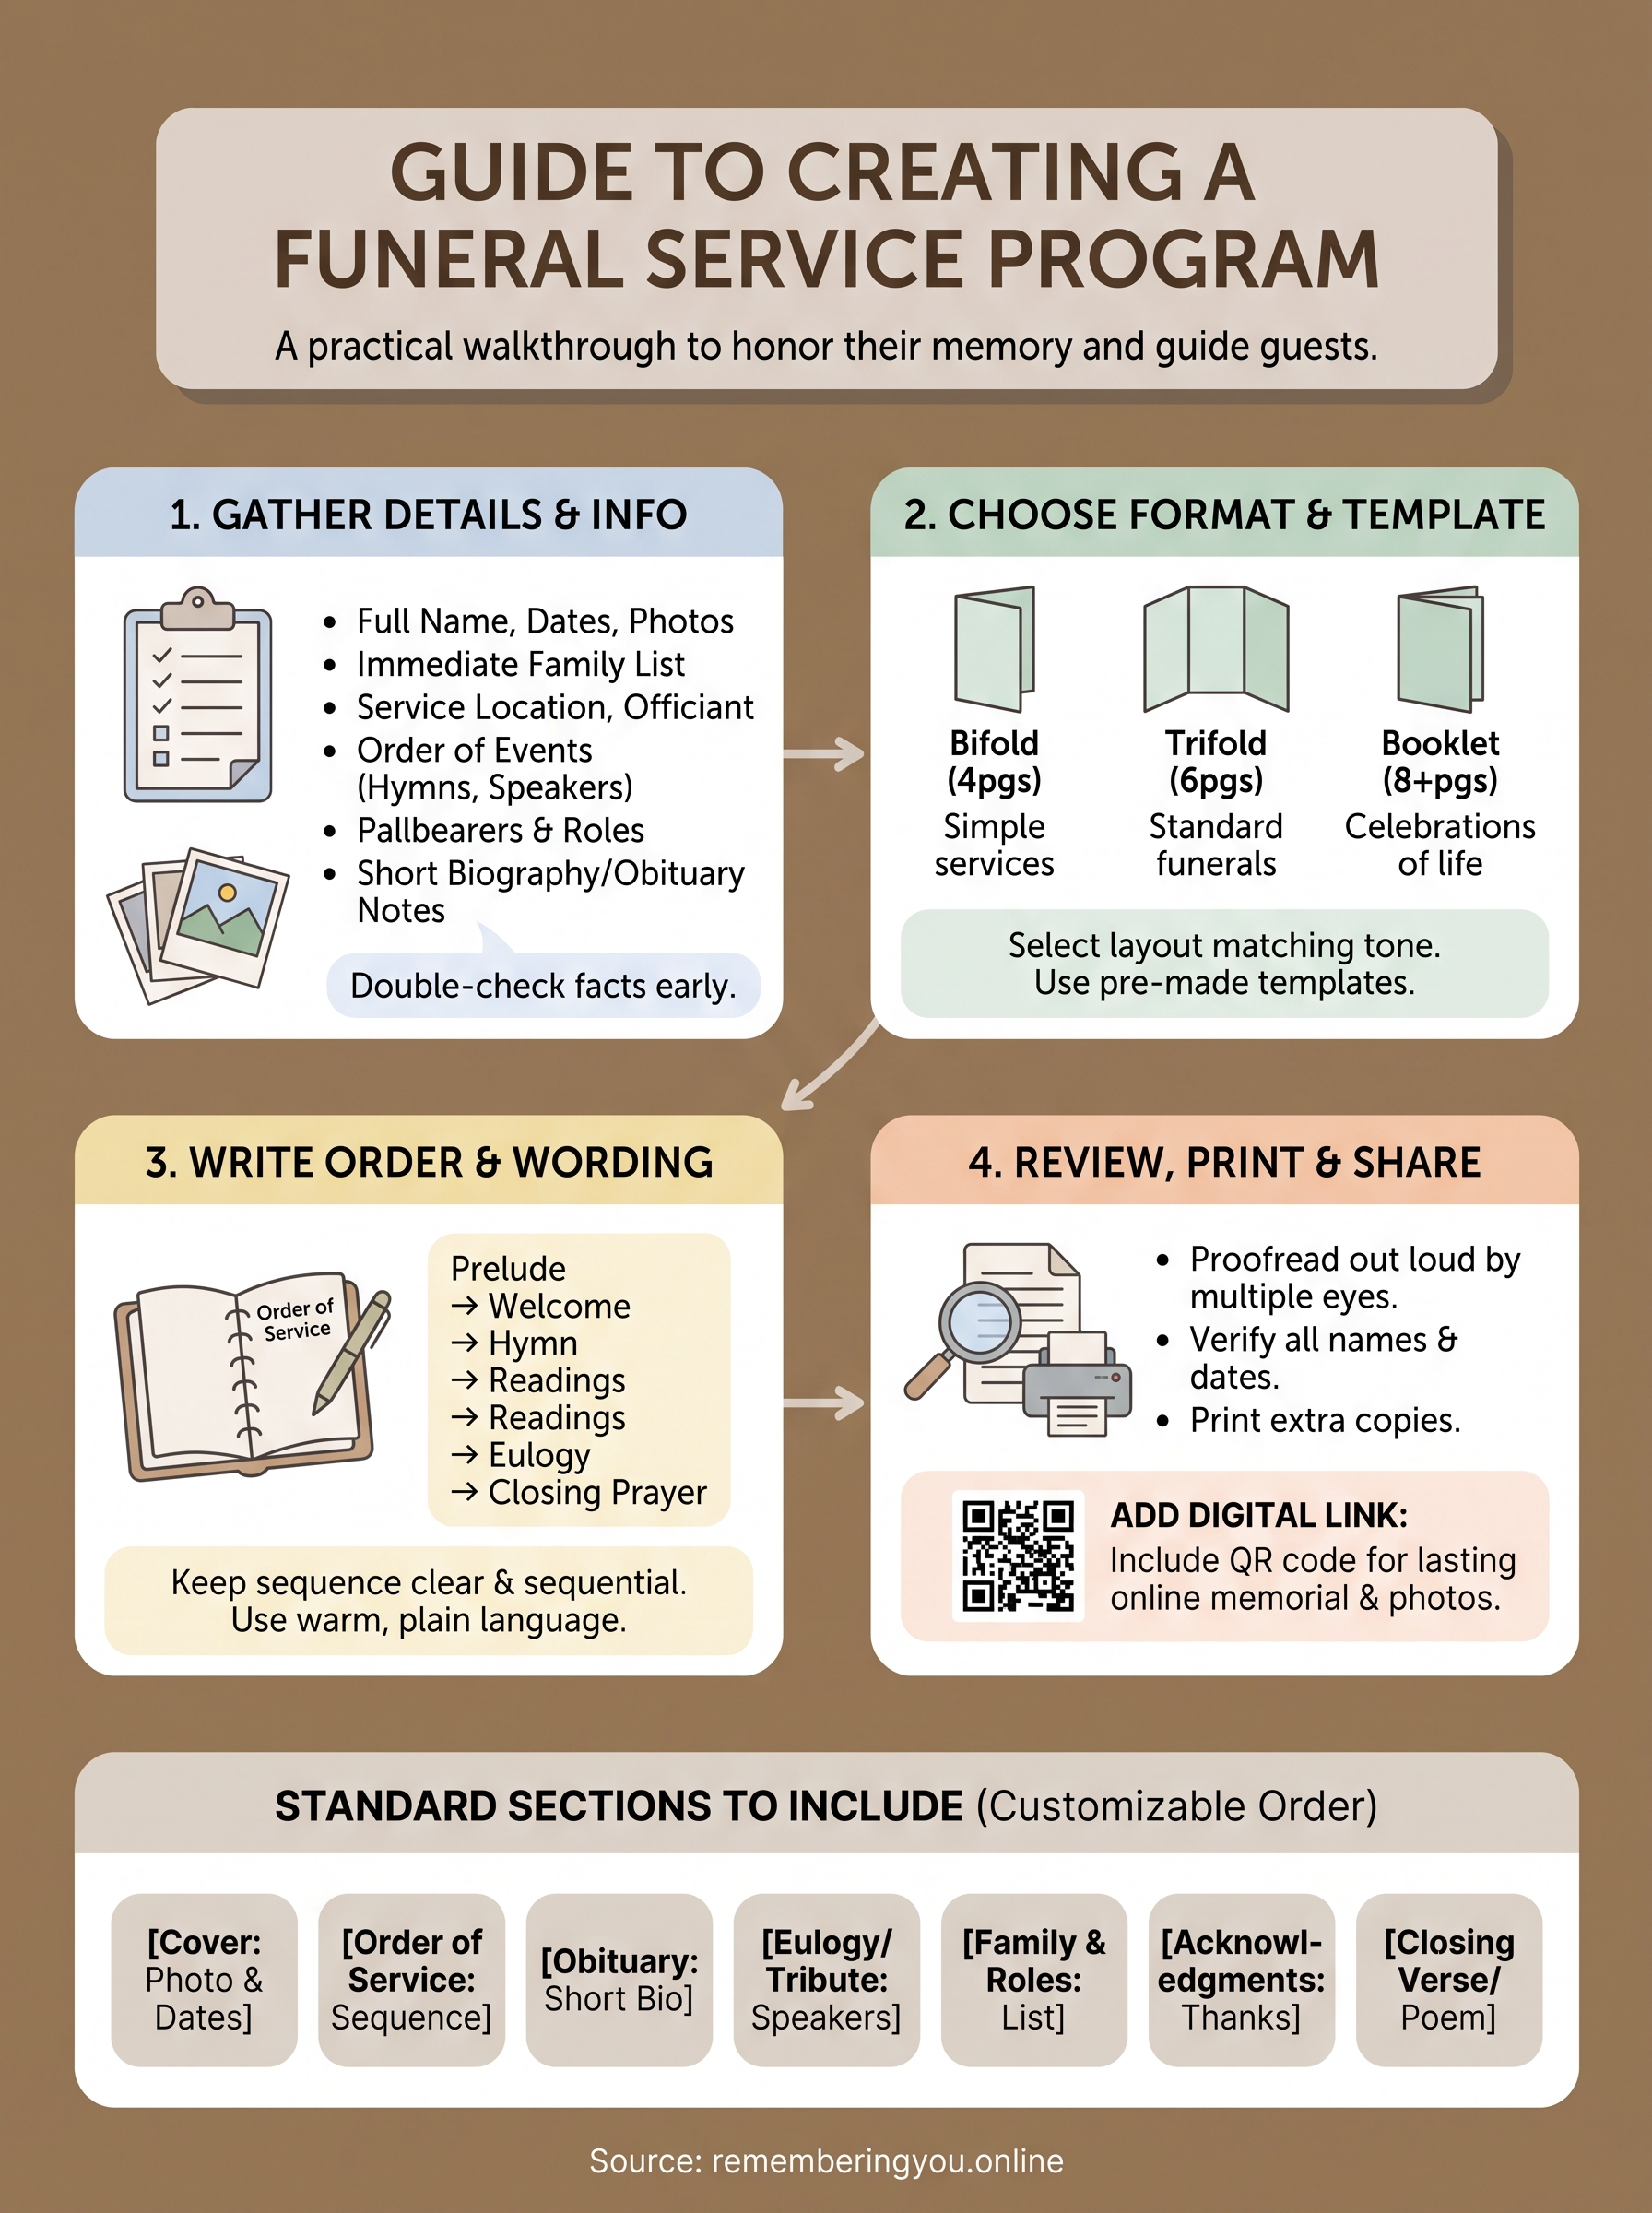
Standard sections to include
Most printed programs, whether for a church service, a graveside ceremony, or a celebration of life, include these elements in some order:
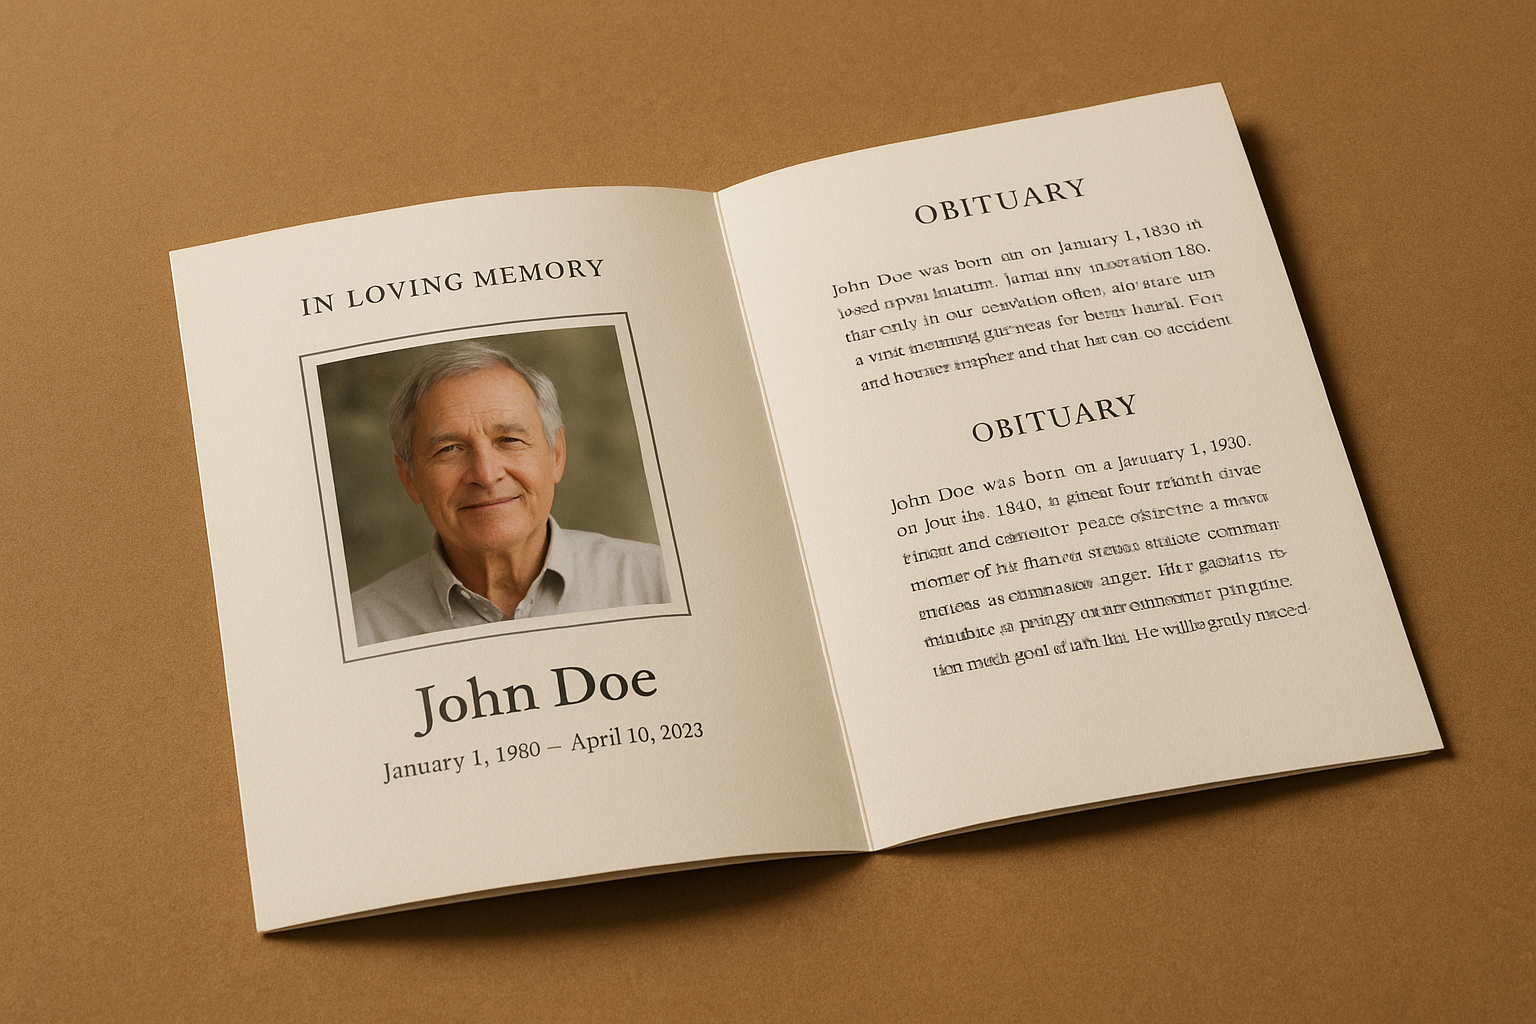
- Cover page: full name, birth and death dates, and a favorite photo
- Order of service: hymns, prayers, readings, and who's speaking
- Obituary or life summary: a short biography of the deceased
- Eulogy or tribute notes: names of speakers and their relationship
- Pallbearers and family list: immediate family and honorary roles
- Acknowledgments: a thank-you note to guests, caregivers, or clergy
- Closing verse or poem: often placed on the back cover
Optional additions worth considering
Some families add a timeline of milestones, a favorite quote, or a QR code for a memorial page linking to an online tribute where relatives who couldn't attend can still view photos and leave condolences. This blend of paper and digital keeps the tribute working long after the last program gets recycled or filed away in a drawer.
Step 1. Gather the deceased's details and service information
Before you open a template, collect the raw facts you'll need to fill every page. Funeral homes ask for this information anyway, so pull it together once alongside everything else that has to be handled in the first days after a death, and reuse it for the program, the obituary, and any online memorial you set up later. Missing a middle name or a wrong date is the kind of error families notice first, so double-check everything against a birth certificate or prior legal document if you're unsure.
Nail down the facts before you touch the design, because fixing a wrong date after printing costs more than fixing it before.
Start with a simple checklist:
- Full legal name, nicknames, birth date, and death date
- Names of immediate family, including spouse, children, and grandchildren
- Service location, date, time, and officiant's name
- Order of hymns, readings, and speakers, confirmed with clergy
- Pallbearer names and any honorary roles
- A short biography or life summary for the obituary section, with templates to guide the wording
- Two to three high-resolution photos for the cover and inside pages, chosen with a few ideas for displaying photos of a loved one in mind
Gathering this early means the rest of the process is assembly, not scrambling.
Step 2. Choose a format and template
Once you have the details in hand, pick a layout that matches the ceremony's tone and your printing budget. A graveside service calls for something simple, while a celebration of life often stretches to a multi-page booklet with more photos. Most families settle on one of three folded formats, so compare them before you commit to a template.
Common program formats
| Format | Pages | Best for |
|---|---|---|
| Bifold | 4 | Simple, quick services |
| Trifold | 6 | Standard funerals with several speakers |
| Booklet | 8+ | Celebrations of life with full timelines |
Search for a funeral program template you can download and print in Word, Canva, or Google Docs rather than starting from a blank page. Most templates already include placeholder text for the order of service, obituary, and acknowledgments, so you're editing rather than designing.
Pick the template first, and the wording almost writes itself.
Home printers handle bifold programs fine, but a trifold or booklet usually looks cleaner from a local print shop or an online printing service, especially if you're including color photos.
Step 3. Write the order of service and wording
Now you turn the checklist into actual sentences. Keep the order of service short and functional, listing each part of the ceremony in the sequence it happens so guests can follow along without whispering questions to the person next to them. Write the obituary section in past tense, third person, and keep it to two or three short paragraphs, since the full life story belongs in the eulogy itself or on an online memorial, not squeezed into a program margin.
Guests remember how the program made them feel, not how many words it used.
A simple order-of-service template
Prelude Music
Welcome & Opening Prayer, [Officiant Name]
Hymn: "[Title]"
Reading: "[Passage or Poem]", [Reader Name]
Eulogy, [Speaker Name]
Hymn or Musical Tribute
Closing Prayer
Recessional
For the wording, favor plain, warm language over formal phrasing. Instead of "the family requests the honor of your presence," try "we're grateful you're here to celebrate [Name]'s life." Close the acknowledgments page with a direct thank-you to caregivers, clergy, and anyone who traveled far, since specific mentions land better than generic gratitude.
Step 4. Review, print, and share the program
Before anything goes to the printer, hand the draft to two family members who knew the deceased well. A fresh set of eyes catches misspelled names, wrong dates, or a pallbearer who got left off the list faster than you will after staring at the same page for hours. Read every line out loud once, since typos hide in silent reading but jump out when spoken.
Proofread out loud, because your eyes skip mistakes your ears will catch.
A quick pre-print checklist
- Names spelled correctly, including nicknames and married names
- Dates match the obituary and any other printed materials
- Order of service matches what clergy or the officiant confirmed
- Photos are high-resolution and not stretched or pixelated
- Print count covers the guest list plus 20 extra copies
Sharing beyond the paper copy
Once the printed programs are ready, consider adding a memorial website guests can scan into from the program so relatives who can't attend the service still see the same photos, timeline, and tributes. That single code turns a paper handout guests might lose into something they can revisit for years.
A program that honors their memory
A well-built funeral program does one job: it helps guests move through a hard day without confusion, and it gives them a keepsake worth holding onto. You don't need design skills or hours of free time. Gather the facts, pick a template that matches the service, write the order of events in plain language, then proofread out loud before anything goes to the printer. Follow those four steps and the program comes together in an afternoon, not a week.
Paper fades and drawers fill up, but the story doesn't have to end there. Pair your printed program with a beautiful memorial page with a photo gallery, life timeline, and guestbook so the photos and tributes stay accessible to family and friends long after the last copy gets tucked away. It takes minutes to set up, costs nothing to start, and keeps their memory within reach for anyone who wants to visit.